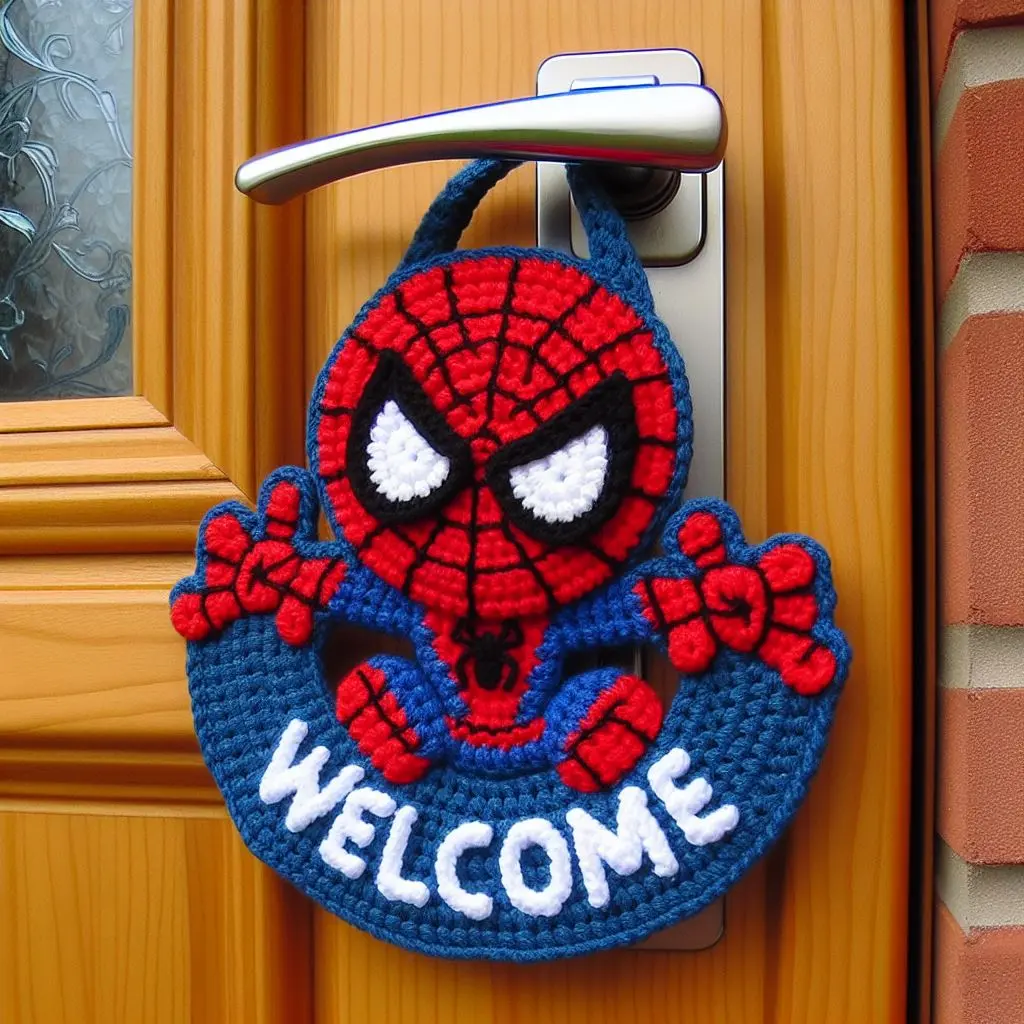
Creating a crocheted Spider-themed welcome sign is a fantastic way to add a superhero touch to your home decor. This vibrant design features a friendly spider motif with a welcoming message, perfect for greeting guests with a bit of fun and flair. This project is ideal for those with basic crochet skills looking to create a unique and eye-catching decoration.
To make this crocheted Spider-themed welcome sign, you will need a few supplies and some crochet knowledge. This engaging project is enjoyable and results in a colorful, welcoming sign that can be displayed on your front door or inside your home. Follow the detailed instructions below to create your superhero-inspired welcome sign.
Round 1: With red yarn, make a magic ring and crochet 6 single crochets (sc) into the ring. Pull tight to close. (6 sts)
Round 2: 2 sc in each stitch around. (12 sts)
Round 3:1 sc in next stitch, 2 sc in next stitch repeat around. (18 sts)
Round 4:1 sc in next 2 stitches, 2 sc in next stitch repeat around. (24 sts)
Round 5:1 sc in next 3 stitches, 2 sc in next stitch repeat around. (30 sts)
Rounds 6-10: Sc in each stitch around. (30 sts)
Round 11:1 sc in next 3 stitches, sc2tog repeat around. (24 sts)
Round 12:1 sc in next 2 stitches, sc2tog repeat around. (18 sts)
Round 13:1 sc in next stitch, sc2tog repeat around. (12 sts)
Add safety eyes or crochet two small circles with white yarn for eyes and attach them to the head. Embroider the black detailing for the eyes and web patterns.
Round 14: Sc2tog around. (6 sts)
Fasten off, leaving a long tail for sewing. Stuff the head with fiberfill and sew the opening closed.
Body:
Round 1: With blue yarn, make a magic ring and crochet 6 sc into the ring. Pull tight to close. (6 sts)
Round 2: 2 sc in each stitch around. (12 sts)
Round 3:1 sc in next stitch, 2 sc in next stitch repeat around. (18 sts)
Round 4:1 sc in next 2 stitches, 2 sc in next stitch repeat around. (24 sts)
Rounds 5-8: Sc in each stitch around. (24 sts)
Fasten off, leaving a long tail for sewing. Attach the body to the bottom of the head using the yarn needle.
Arms and Legs (make 4 each):
Round 1: With red yarn, make a magic ring and crochet 6 sc into the ring. Pull tight to close. (6 sts)
Round 2: Sc in each stitch around. (6 sts)
Repeat Round 2 until the piece measures approximately 3 inches long.
Fasten off, leaving a long tail for sewing. Attach the arms and legs to the body, positioning them appropriately.
Welcome Sign:
Row 1: With blue yarn, chain 31. Sc in the second chain from the hook and in each chain across. (30 sts)
Rows 2-10: Chain 1, turn, sc in each stitch across. (30 sts)
Fasten off and switch to black yarn.
Row 11: Sc around the edge of the blue rectangle to create a border. Join with a slip stitch to the first sc.
Using white yarn, embroider the word “WELCOME” onto the blue rectangle.
Assembly:
Attach the spider head and body to the top of the sign using the yarn needle or a hot glue gun.
Cut a piece of blue yarn or use a braided cord to create a loop for hanging. Attach it to the top corners of the sign.
Enjoy your new, welcoming crocheted Spider-themed sign!