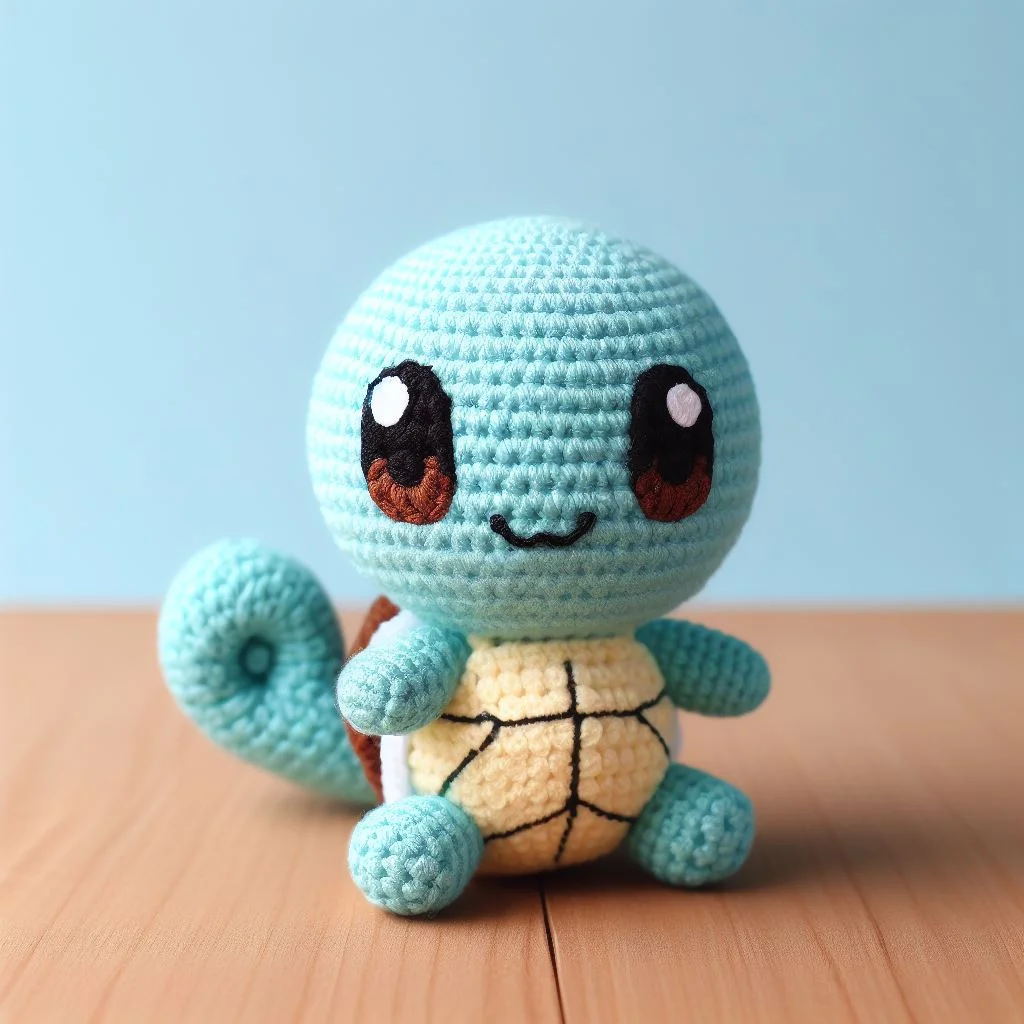
The Squirtle amigurumi captures the charm of the beloved water-type Pokémon in a delightful and tactile crochet form. Known for its bright blue skin, brown shell, and mischievous smile, Squirtle is a favorite among Pokémon fans, making this amigurumi project both enjoyable and nostalgic. Crafting a Squirtle in yarn is a delightful way to bring a piece of the Pokémon universe into your home, creating a soft, cuddly version of this spunky little character.
The process of creating a Squirtle amigurumi involves careful attention to its iconic features – the rounded shape of its body, the distinctive tail, and its cheerful facial expression. The challenge is in the details, like achieving the right shade of blue for its skin, meticulously crocheting its shell, and capturing the look of its big, friendly eyes. As you work on each element, you’re not just stitching yarn; you’re weaving together a representation of Squirtle’s playful and energetic spirit.
For those ready to dive into this crafting adventure, the Squirtle amigurumi pattern is your guide. It provides clear instructions for each step of the process, ensuring that your finished Squirtle looks as adorable as the character in the Pokémon series. This pattern is perfect for both seasoned crocheters and beginners eager to bring their favorite Pokémon to life. Whether as a gift for a Pokémon enthusiast, a charming addition to your collection, or a companion for imaginative adventures, this Squirtle amigurumi is sure to make a splash. Below, the pattern awaits, ready to guide you through creating your very own Squirtle, one stitch at a time.
Materials Required:
- Light blue yarn (medium weight)
- Cream yarn (medium weight)
- Brown yarn (medium weight)
- Black embroidery floss (for the mouth)
- White felt (for the eyes, if not using safety eyes)
- Crochet hook (size suitable for medium weight yarn, e.g., 3.5mm)
- Fiberfill stuffing
- Stitch markers
- Yarn needle
- Embroidery needle
- Safety eyes (optional, if preferred over yarn, around 9mm size)
- Scissors
- Pins (for positioning pieces before sewing)
Common Abbreviations and Terms:
- ch – chain
- sc – single crochet
- hdc – half double crochet
- dc – double crochet
- tr – treble crochet
- sl st – slip stitch
- inc – increase (two sc in one stitch)
- dec – decrease (sc two stitches together)
- […] xN – repeat the instructions in brackets N times
- (…) total – indicates the total number of stitches at the end of the round
- BLO – back loop only
- FLO – front loop only
- FO – fasten off
- sts – stitches
Head (Light Blue Yarn):
- Create a magic ring, 6 sc in ring (6 sts)
- Inc in each st around (12 sts)
- [Sc, inc] x6 (18 sts)
- [2 sc, inc] x6 (24 sts)
- [3 sc, inc] x6 (30 sts) 6-10. Sc around (30 sts for each round)
- [3 sc, dec] x6 (24 sts) 12-13. Sc around (24 sts for each round)
- [2 sc, dec] x6 (18 sts)
- Sc around (18 sts). Begin to stuff head.
- [Sc, dec] x6 (12 sts)
- Dec around (6 sts). FO, weave in ends.
Body (Light Blue Yarn):
- Create a magic ring, 6 sc in ring (6 sts)
- Inc in each st around (12 sts)
- [Sc, inc] x6 (18 sts)
- [2 sc, inc] x6 (24 sts)
- [3 sc, inc] x6 (30 sts)
- [4 sc, inc] x6 (36 sts) 7-11. Sc around (36 sts for each round)
- [4 sc, dec] x6 (30 sts) 13-14. Sc around (30 sts for each round)
- [3 sc, dec] x6 (24 sts). Start stuffing body.
- [2 sc, dec] x6 (18 sts)
- [Sc, dec] x6 (12 sts)
- Dec around (6 sts). FO, leaving a long tail for sewing to the head.
Shell (Brown Yarn):
- Create a magic ring, 6 sc in ring (6 sts)
- Inc in each st around (12 sts)
- [Sc, inc] x6 (18 sts)
- [2 sc, inc] x6 (24 sts)
- [3 sc, inc] x6 (30 sts) 6-11. Sc around (30 sts for each round). Add spiral ridge details by working front post sc on every 5th st of the next rounds.
- [3 sc, dec] x6 (24 sts)
- Sc around (24 sts for each round). FO, leaving a long tail for sewing to the body.
Arms (Light Blue Yarn, make 2):
- Create a magic ring, 6 sc in ring (6 sts)
- [Sc, inc] x3 (9 sts) 3-4. Sc around (9 sts for each round). FO, leaving a long tail for sewing.
Legs (Light Blue Yarn, make 2):
- Create a magic ring, 6 sc in ring (6 sts)
- Inc in each st around (12 sts) 3-4. Sc around (12 sts for each round). FO, leaving a long tail for sewing.
Tail (Cream Yarn):
- Ch 10, sl st in 2nd ch from hook, sc in next, hdc in next 2 chs, dc in next 2 chs, tr in next 2 chs, dc in last ch. Continue on the other side of the chain, repeat the pattern in reverse. FO, leaving a long tail for sewing.
Belly Patch (Cream Yarn):
- Create a magic ring, 6 sc in ring (6 sts)
- Inc in each st around (12 sts)
- [Sc, inc] x6 (18 sts)
- [2 sc, inc] x6 (24 sts)
- [3 sc, inc] x6 (30 sts). FO, leaving a long tail for sewing onto the front of the body.
Eyes (Black Yarn or Safety Eyes):
- If using yarn, create small circles or use black embroidery floss for the pupils, then sew or glue small white felt circles for the glare.
- If using safety eyes, insert them between rounds 7 and 8 of the head, about 8 stitches apart.
Mouth (Black Embroidery Floss):
- Embroider a simple curved line between the eyes on round 9 of the head.
Assembly:
- Sew the head to the body.
- Attach the arms and legs, making sure they’re evenly spaced.
- Sew the tail to the back of the body.
- Sew the belly patch to the front of the body.
- Attach the shell to the back of the body over the tail base.
- Add the eyes and embroider the mouth.
- Optionally, use black yarn or embroidery floss to add detail to the belly patch.
Pay careful attention to the position of the limbs and facial features to ensure the amigurumi character’s iconic look is achieved. The safety eyes (or yarn eyes) and embroidered mouth should be placed to give a friendly expression. The shell should be centered on the back, and the arms and legs should allow the amigurumi to sit upright.